Song In September Challenge: Week Three
Wow, it has been a super busy September. This Song in September Challenge has taken over Chasing Sound for much of the month. In week 1 we talked all about how to spark inspiration and get rhythm ideas down. We picked our key and quality, and started brainstorming ideas.
For week 2 we worked on finalizing our chords and developing leads over the chord changes we wrote. We tried recording a simple rhythm scratch track to practice our ideas over.
Midweek through week 2 I upped the ante on the challenge by doing a special announcement and letting everyone know all the proceeds in October would go to charity for breast cancer awareness. Because what’s better than making music? Making a good change in the world.
This week we’re going to focus on a basic recording primer - how to really record your song, before we head into mixing next week. There already are a number of great articles on how to record guitar. If you want to find the best I’ve ever seen, you should check out this post from one of the best engineers I’ve ever met in my life (hi Tim!). It’s hilarious, NSFW, and incredibly informative.
Before we get into the setup section, I just wanted to let you know that if you have any recording questions at all, feel free to email me at Brian@ChasingSound.com. I'll be happy to answer your questions so you can get going!
The Setup
I need to get some housekeeping out of the way. Please check out the post above if you want to learn how to mic a guitar cab. The basics of it are simple. Grab a Shure SM57 or a Sennheiser E609, get in front of that cab, and listen from the best spot. Test it, and if it doesn’t sound good on playback, move the mic a little bit, and test again!

Using BIAS for amp simulation.
For our purposes, we’re going to be using Pro Tools and amp simulators. Thankfully most computers or even phones give you the ability to do this. Don’t worry that we’ll be using Pro Tools. If you’d like to try it, you can always download Pro Tools First (which is free, but has some limitations) or you can do something similar in GarageBand.
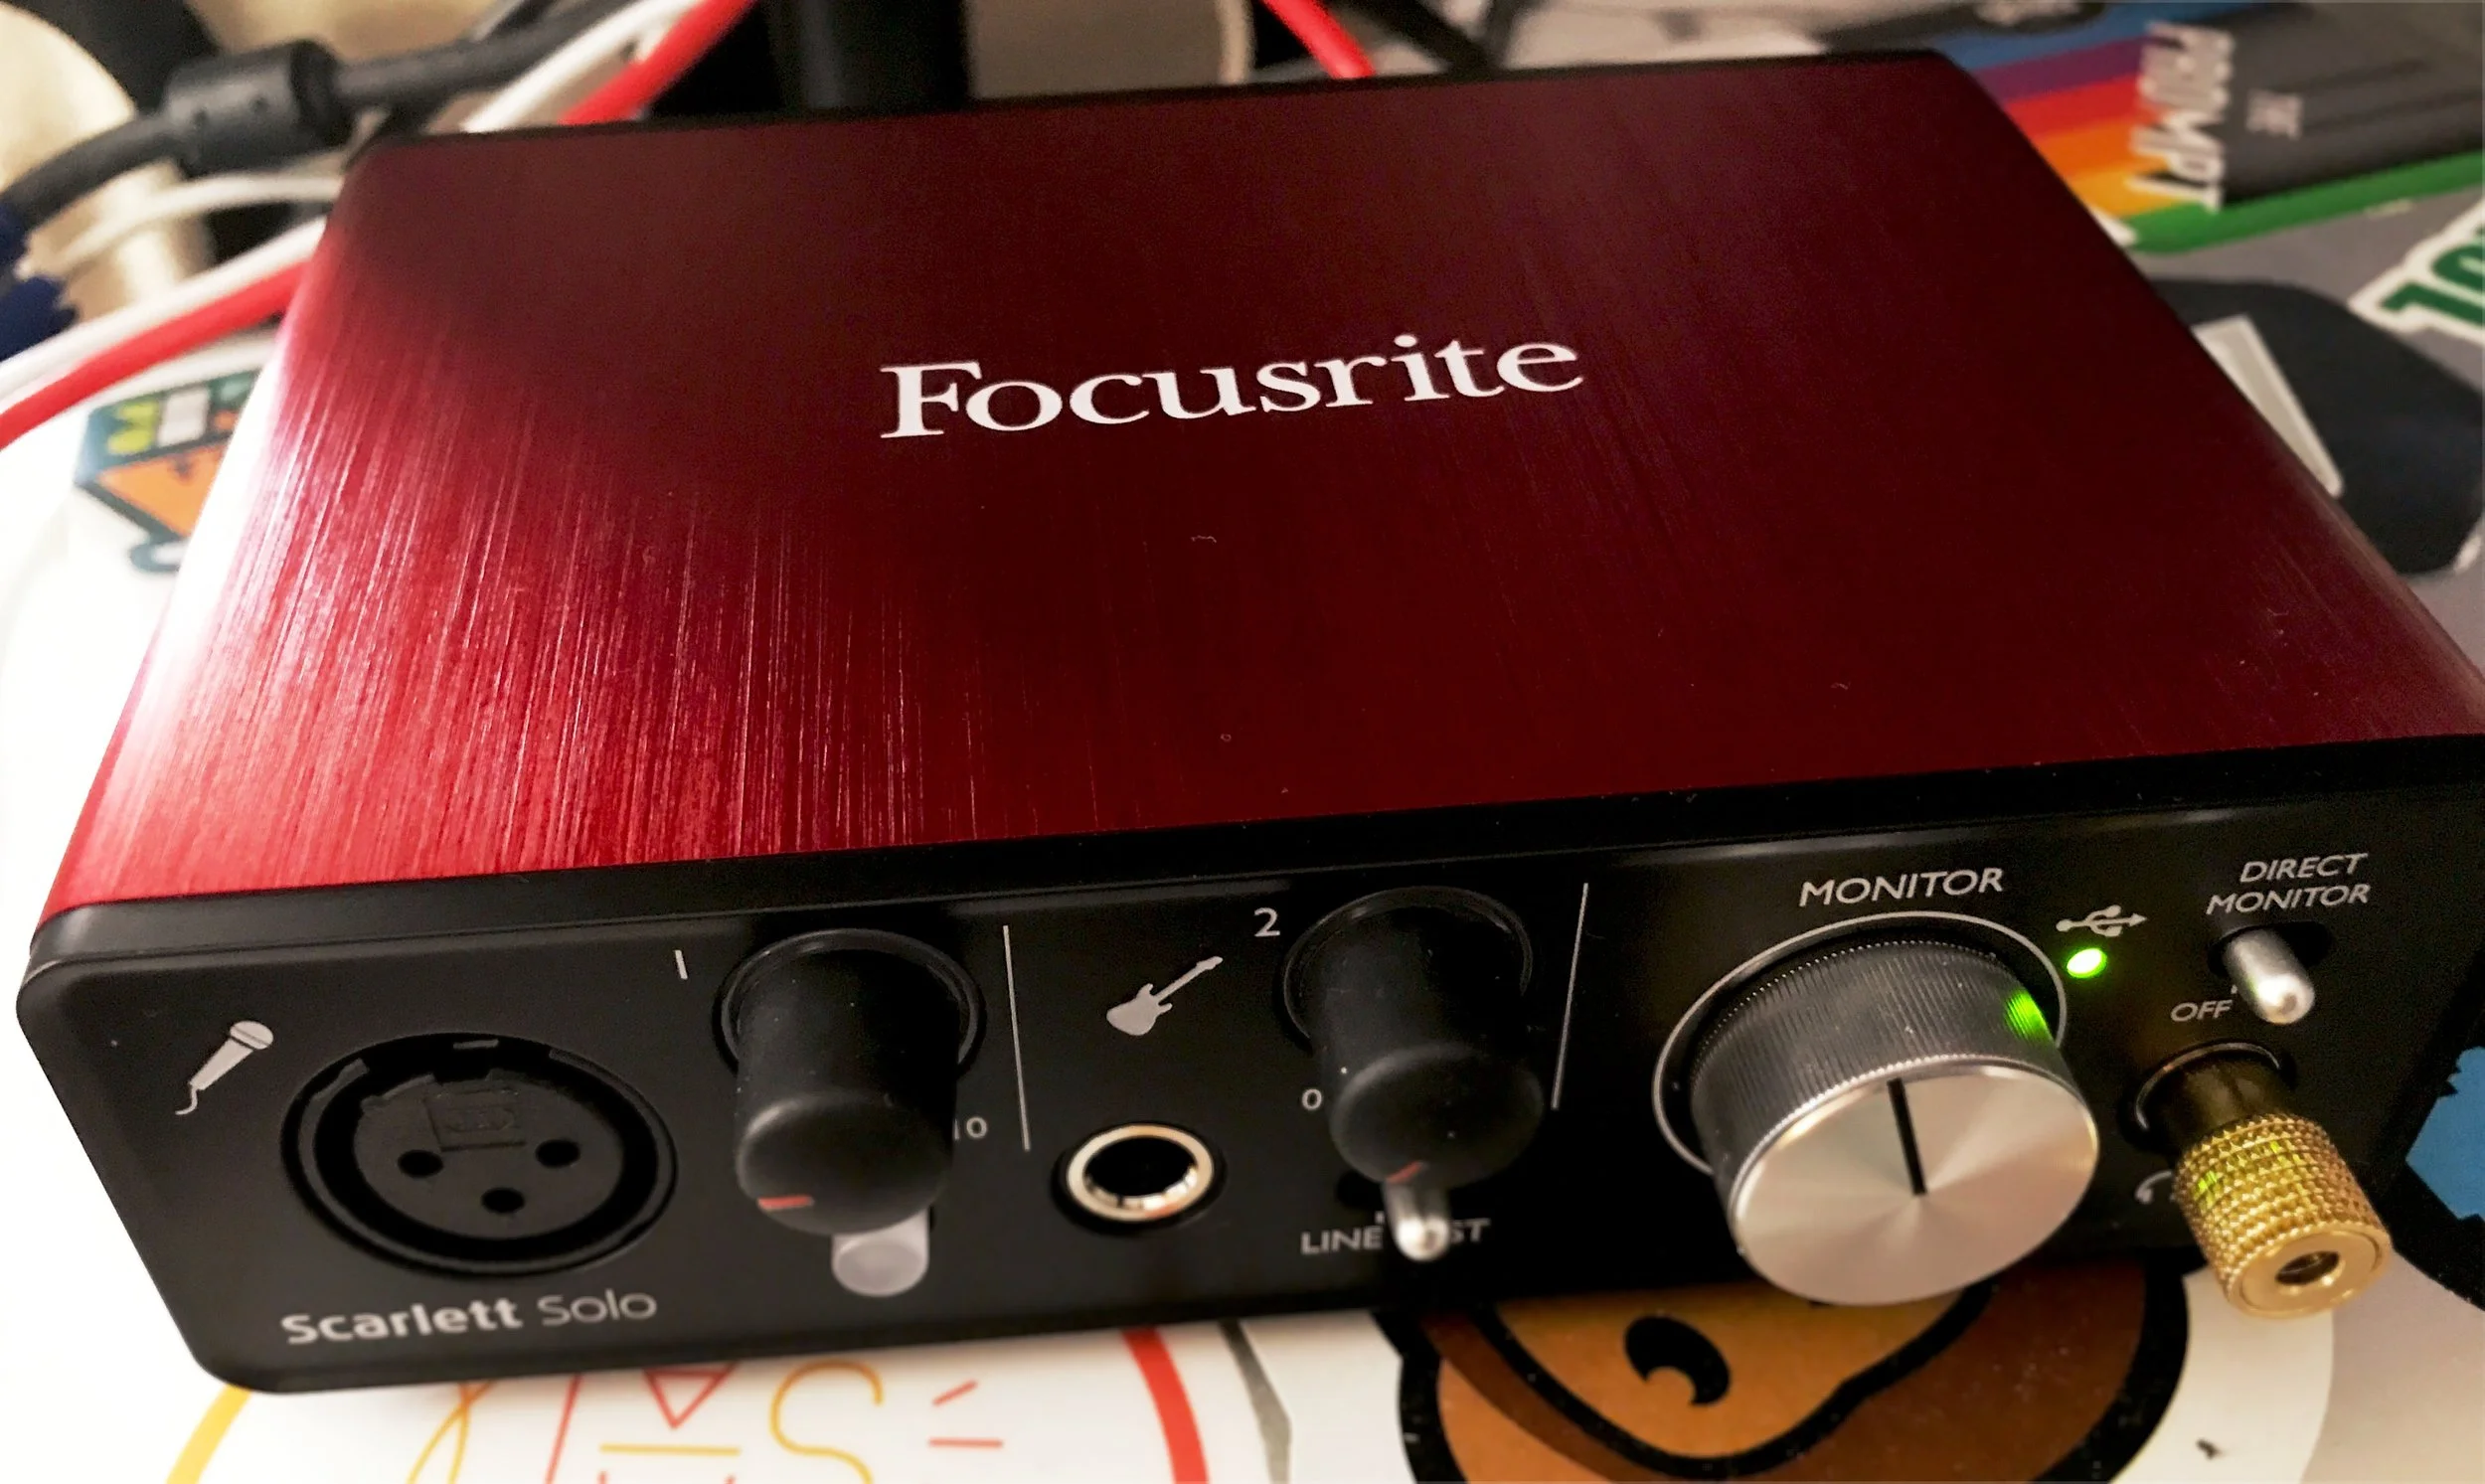
The Focusrite Scarlett Solo Audio Interface. The gain knobs I mention are the black knobs by 1 & 2.
The small interface I’m using at home is a Focusrite Scarlett Solo, which is an amazing little interface that you can get for just $99! It has one XLR input for a microphone, and 1 quarter inch input for recording guitar, bass and more.
If you have a computer, an audio interface and headphones, you should be ready to go, but before we get started, there’s one more important piece of advice.
If you want to see what settings I use when first setting up a song, check out the video I made for you below. It goes over naming, file type, sample and bitrates, and where to store your song.
If you want to get geeky, we're recording at 48KHz / 24 bit, and then later for bouncing the mix, we'll be changing it up to 44.1KHz / 16 bit (the typical settings you'd find on a commercial CD).
New Strings, Tuning and a Click Track
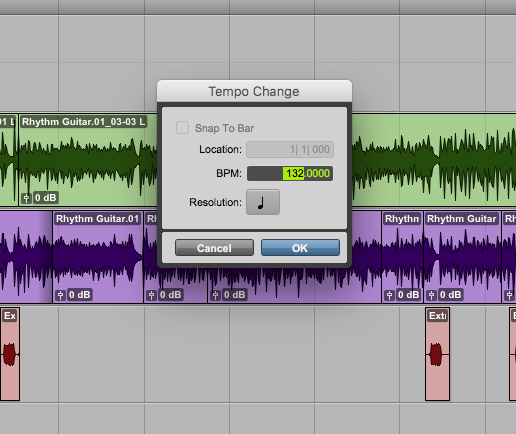
Setting up a click track, one of the most important elements of a tight recording!
One of the biggest things that can make a recording sound amateurish is not having your guitar in tune. If you really want your song to shine, put on a new pack of strings, and then stretch them out so they’re ready to be recorded.
New strings almost always sound better than old, dead strings. The other important reason for keeping your axe in tune, is that we’re going to be doing more than one track of guitar. If your first or subsequent tracks are out of tune, your song will sound like an out of tune mess.
Another thing that’ll make your song shine, and also make it easier for you when recording and editing your tracks, is recording to a click track. Work with different tempos, and see which one fits your song best. Keep in mind all of your tracks (rhythm, lead and more).
One of the other benefits of recording to a click is that it’ll be easier to edit, sync up effects, virtual instruments and more if your song is on tempo/time.
Recording your first track
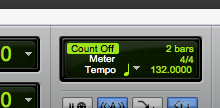
Set up a count off to give yourself time to get situated.
After your guitar is in tune, and your session is set up, it’s time to record your first track. What I like to do if I’m recording by myself is set a 2 bar count off. This way you’ll typically have 8 beats before you start playing (if your song is in 4/4).
This gives you time to get your fingers ready after having pressed play and record. One of the most critical aspects of getting your first track and next tracks correct, is to make sure to stick to the click track.
Another huge aspect of recording is making sure you set your gain accurately. This is found on your interface. The way a guitar is built, it’s output is not loud enough to be recorded directly into your recording program. Your interface’s gain boosts your guitar up to a good recording level.
You want to make sure that you have a healthy level that’s not too low, and not clipping. You can’t really fix clipping/accidental distortion “in the mix”, so it’s important to get your gain right, right when you start. If you’re using an amp simulator (I’m using BIAS), keep an eye on the output of your track from within the plugin.
You want to make sure that nothing is clipping, because it’ll make your entire track sound distorted and not professional.

Panning your rhythm tracks hard left and right.
After you’ve recorded your first rhythm track, if you want to fatten the mix up, double track your rhythm part. This time though, use a different amp sound and when you’re doing with both parts, pan one hard left, and one hard right.
This’ll make your rhythm tracks sound huge, and can turn an alright rhythm part, into an awesome rhythm part.
After you have your rhythm, and even your bass parts down, it’s time to record your lead guitar. If you want to help your tone out a bit, you can try adding a little bit of reverb and a bit of delay to fill out your lead part, and it’ll make it sound like it has more space.
With all of your tracks while recording, you want to make sure you’re getting your best tones from the very beginning. The most frustrating thing is going into next week when we’re going to be mixing our song, and having to be more “surgical” and fix a bunch of parts, rather than being artistic, and adding to the song.
Adding Drums to Your Song

One of the benefits I mentioned earlier was that if you recorded to a click track, you can send your files to a drummer, or have a drummer come over and record drum parts over your song. While I have a few people I could send my own song to, I chose to use a virtual instrument this time, to save time and expenses.
One of my favorite plugins over the past couple of years has been EZ Drummer 2. This plugin has a bunch of kits and beats that you can string together to make your drum track.
Because we recorded to a click, our drums sync up seamlessly with the rest of our instruments in the track. EZ Drummer also has an amazing feature where you can tap out a rhythm, and it’ll search it’s library for beats that are similar to what you tapped out.
While we’ll focus more on mixing our drums into the track next week, make sure you’re happy with your drums parts, hear how they mesh with your bass guitar track, and rest of your song.
Next week is going to be all about “making holes” for all of our instruments. I’m going to show you tips and tricks on how to make instruments enhance each other, and enhance the overall track. Focus on quality during the recording phase, and next week will be a whole lot easier!
Adding the Bells and Whistles
I’m a big fan of keyboard parts and other instruments that can make the track more exciting. You’d be surprised how a simple shaker track can enhance the excitement of your song. I’ll never forget not having a shaker in the studio, so I took a coffee cup, emptied out a bunch of coffee grinds, taped the top up, and had a realistic sounding shaker, that made it to the final mix!
Experiment with other instruments, keyboard parts, and more to make your production fun. If you think an instrument might work in your song, just record it, and at mix time if you think it’s overwhelming the song, just make an executive decision and mute it.
If you're more of a visual learner, I tried to explain most of what I wrote above in this handy YouTube video. It's a behind the scenes look at my session in Pro Tools.
1 Week to Go
With our entire song recorded, we only have 1 more week to go. Before next week, make sure you’re entirely happy with how your tracks sound, because next week we’re going to put it all together, and put it online for other people to hear!
I know there’s SO much to take in when writing, recording and mixing a song, but I am here for you if you have any questions. Feel free to reach out to me on Twitter, Facebook, or by emailing me at Brian@ChasingSound.com.